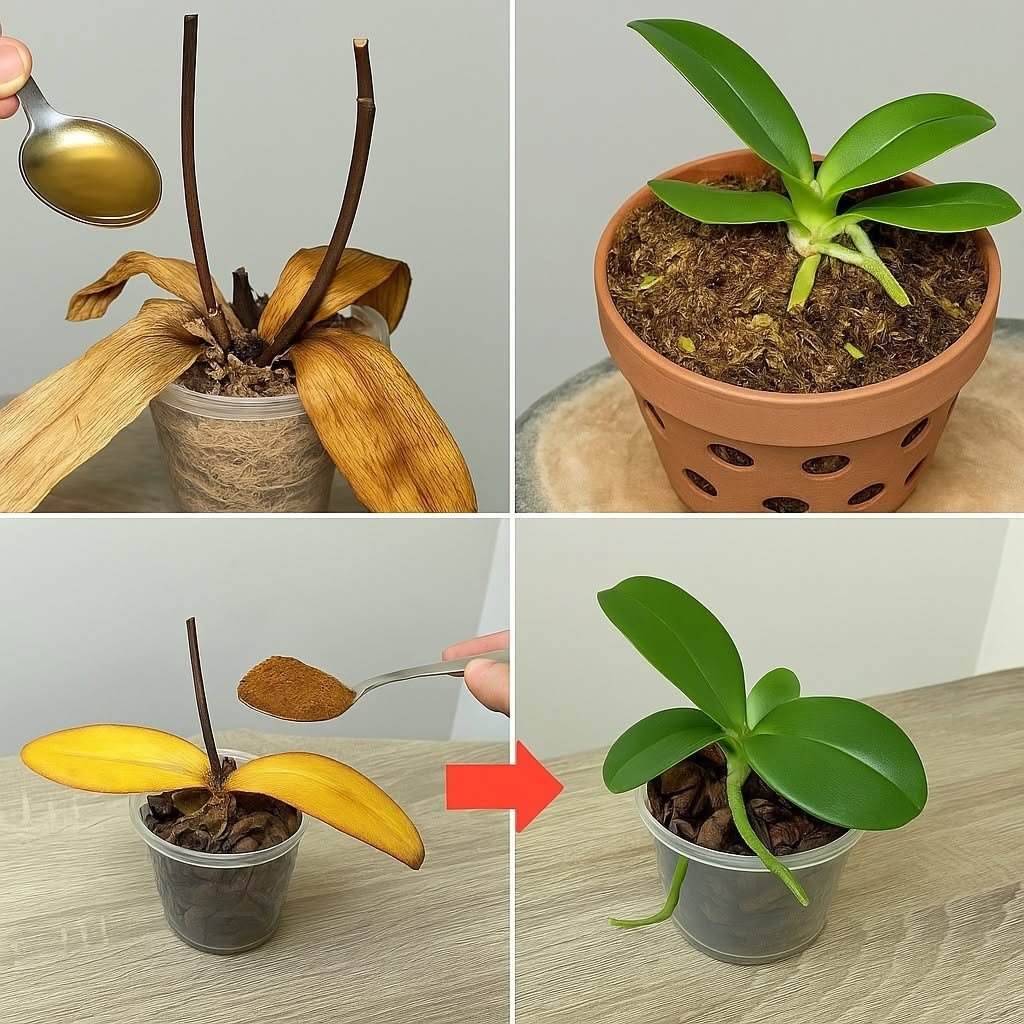
Is your orchid looking weak, with dry roots, drooping leaves, or no flowers? Before giving up on your plant, take a closer look at its roots. With the right care, some struggling orchids can recover and eventually produce beautiful new blooms.
You may have seen gardening tips claiming that adding one spoonful of a kitchen ingredient can bring a dying orchid back to life. However, there is no magic ingredient that can revive completely dead roots overnight. The best approach is to identify the problem, remove damaged roots when necessary, and provide the right growing conditions.
In this guide, you’ll learn how to help a struggling orchid recover, which care mistakes to avoid, and how to encourage healthy growth and future flowering.
Why Are Your Orchid’s Roots Dying?
Orchid roots can become damaged for several reasons. Identifying the cause is the first step toward helping your plant recover.
- Overwatering: Roots that remain wet for too long may turn brown, soft, and mushy.
- Poor drainage: Dense potting material can prevent air from reaching the roots.
- Underwatering: Roots may become dry and shriveled when the plant receives too little moisture.
- Excess fertilizer: Too much fertilizer can damage delicate roots through salt buildup.
- Old potting medium: Decomposed bark can retain too much water and reduce airflow.
Healthy roots on many common houseplant orchids, such as Phalaenopsis, are generally firm and may appear green when wet or silvery when dry. Brown, mushy roots often indicate rot, while dry, brittle roots may be dead.
How to Revive an Orchid With Damaged Roots
Step 1: Remove the Orchid From Its Pot
Carefully take the orchid out of its container and gently remove the old potting material. Avoid pulling or tearing healthy roots.
Rinse the roots gently with lukewarm water so you can inspect them more easily.
Step 2: Inspect and Trim Damaged Roots
Look closely at the root system. Healthy roots should feel firm, while rotten roots are often soft, hollow, or mushy.
Using clean, sterilized scissors, trim away roots that are clearly dead or rotten. Keep every healthy root you can, because the plant needs functioning roots to absorb water and nutrients.
If almost all the roots are damaged, the orchid may still struggle to recover. Its chances depend on whether the crown, stem, and remaining living tissue are healthy.
Step 3: Repot in Fresh Orchid Medium
Choose a clean pot with drainage holes and use a suitable orchid potting mix, usually containing orchid bark and other airy materials.
Avoid ordinary garden soil, which can hold too much moisture around the roots of many common orchids.
A transparent pot can be helpful because it allows you to monitor the roots and moisture level more easily.
Step 4: Water Carefully
Water the potting medium thoroughly, then let excess water drain away completely. Never leave the pot standing in water.
Allow the medium to approach the appropriate dryness level for your orchid before watering again. The ideal schedule depends on the orchid species, potting medium, temperature, and humidity.
Keep water from collecting in the crown, where the leaves meet, because persistent moisture there can encourage rot.
Step 5: Provide Bright, Indirect Light
Place the orchid somewhere with plenty of bright, indirect light. Avoid harsh direct sunlight that can scorch the leaves.
Keep the plant away from heating vents, cold drafts, and sudden temperature changes. Stable conditions help a recovering orchid produce new roots and leaves.
Step 6: Wait for Signs of Recovery
Recovery takes time. Look for new root tips, firmer leaves, or fresh leaf growth rather than expecting immediate flowers.
Avoid repeatedly removing the plant from its pot to check its progress. Disturbing the roots too often can cause additional stress.
Should You Sprinkle One Spoonful of a Kitchen Ingredient on
For Complete Cooking STEPS Please Head On Over To Next Page Or Open button (>)